How To Create A Webcast Post
I. Go to Admin > Content > Add Content > Webcast
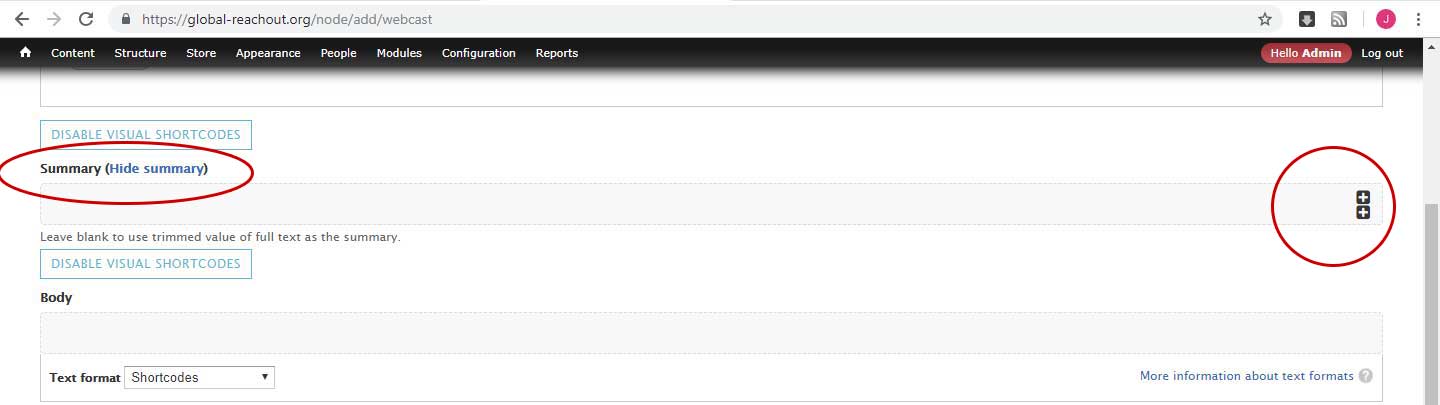
II. Fill out the fields
1. Language
- Leave the language in English
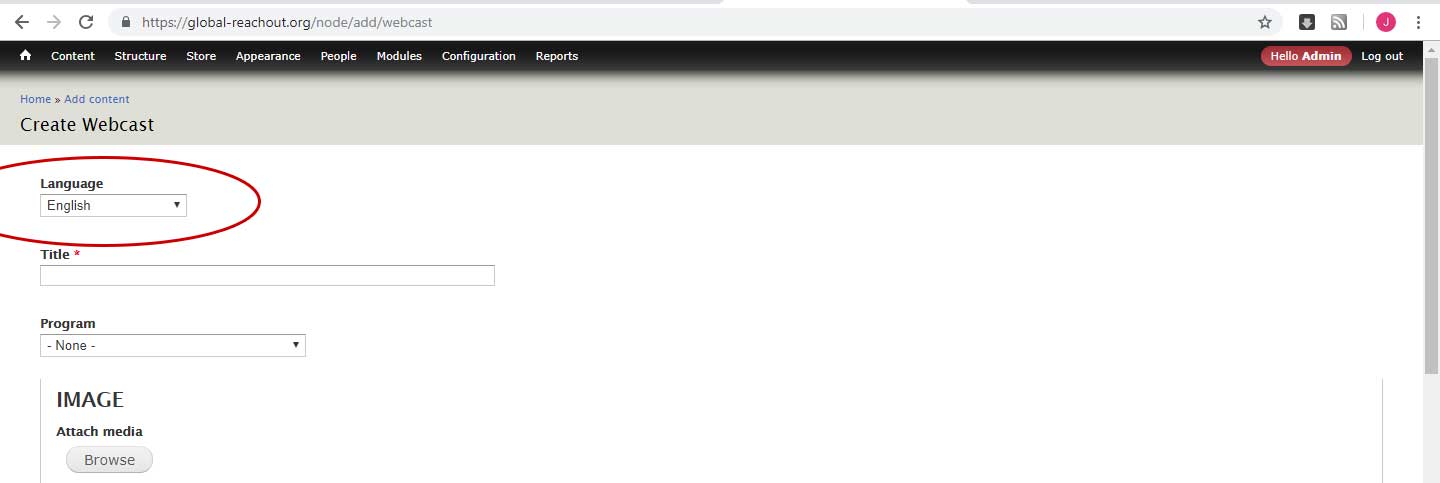
- Language field sets the language your page will be in. The system default language is English. So if we need the page content to be in Chinese, we select Chinese.
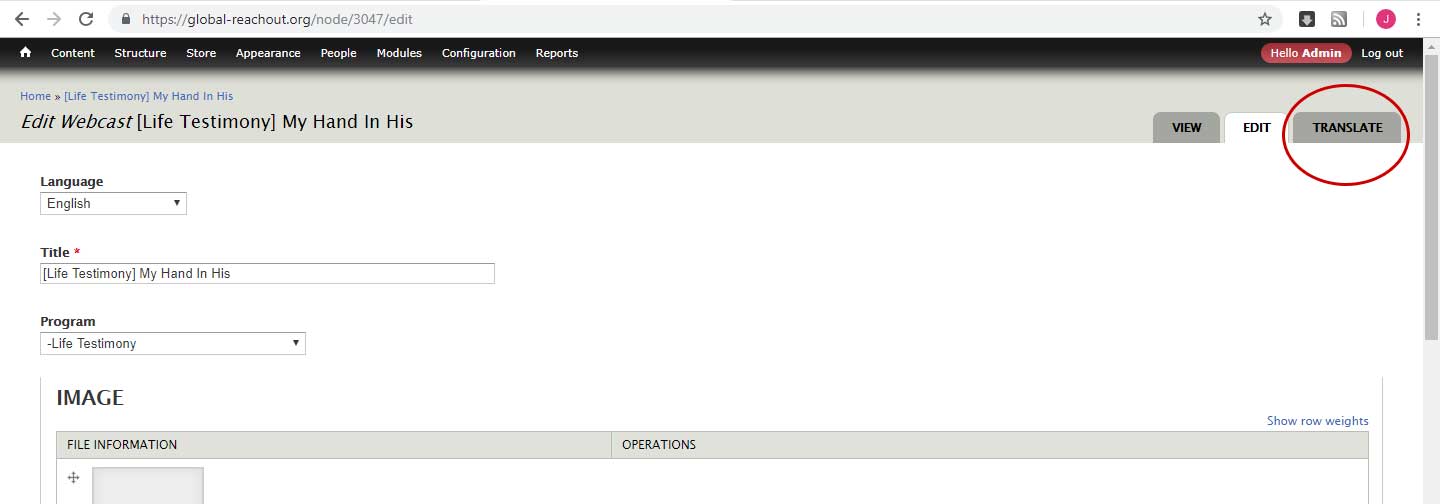
- Optionally, we can always create in English first, and publish. Once published, we open up the post to find the Translate tab now available. Click it and from there, create the Chinese version.
- Webcast is a special case where we just leave the language set as English.
Two main reasons
- The posts were migrated from the old site, where each post has no separate English and Chinese version. It was either English or Chinese. Since there are more than 700 pre-existing posts, that will be a lot of work to do English and Chinese translation of each post in the new site. It was decided to migrate the posts as they are. Setting language as English is fine - the page can contain Chinese regardless of language set.
- Secondly, we needed to set it English to address a technical issue concerning monetising the transcript downloads. We needed the post title to be in the url using a format called url alias to establish a relationship between the webcast download products and the webcast posts in the system. And we found that url alias doesn't work if the language is set in Chinese.
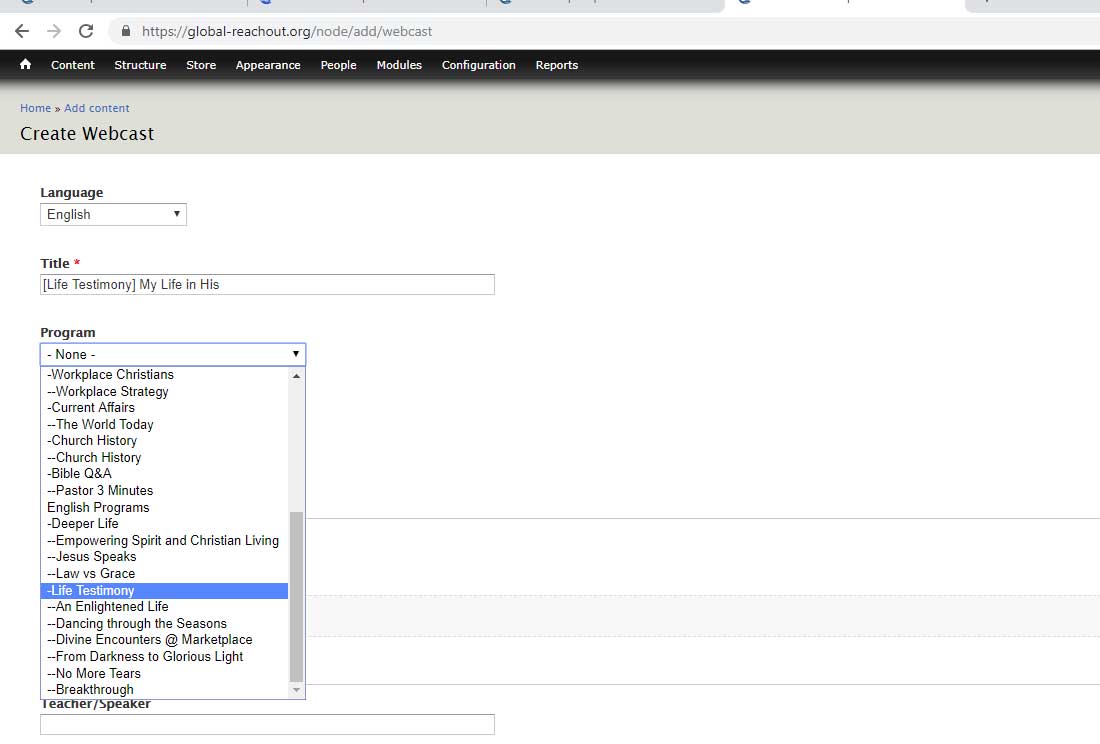
3. Program
(Back to top)
- Enter the webcast program, by choosing from the dropdown
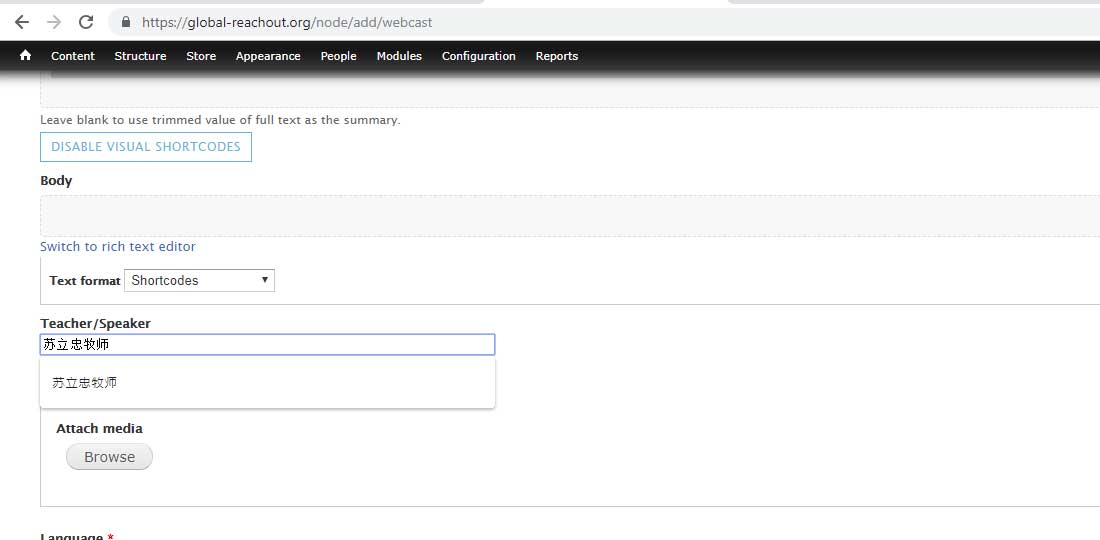
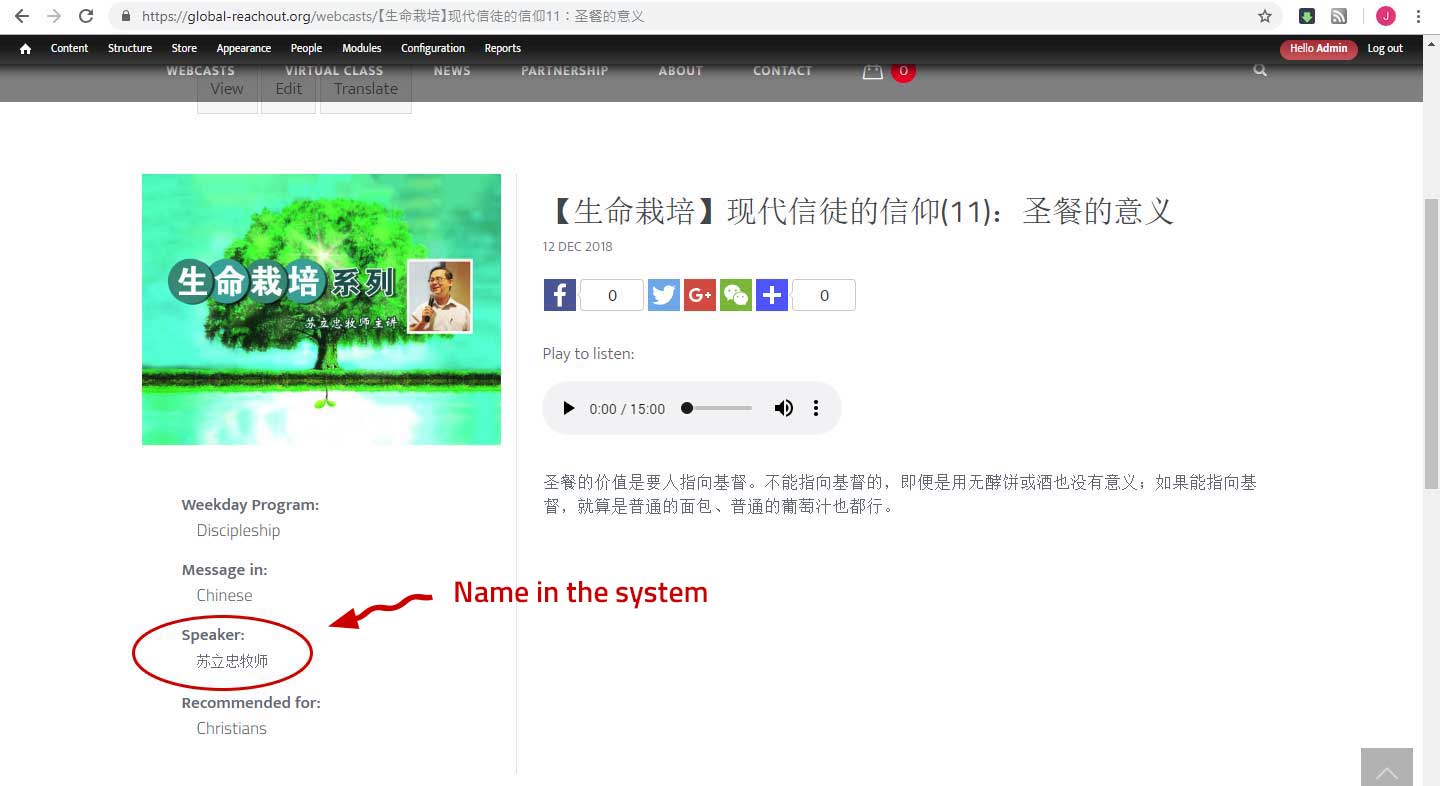
6. Teacher/Speaker
(Back to top)
- Enter the name of the Speaker. Make sure the name is exactly the same for what is already in the system, so the system is able to reference it in the Speaker search filter.
8. Language (of Audio Message)
(Back to top)
- Not to be confused with the first language field (which refers to the language of textual content) . This language classification refers to the language the webcast audio message is available in.
- Select from the dropdown field whether the message is in English or Chinese.
9. Type of Listener
(Back to top)
- Select type of listener (Seeker or Christian)
10. Download Transcript
(Back to top)
- No need to fill out this field. The transcript attachments are instead made available in the product display that corresponds to this webcast.
11. Google Analytics Counter
The counting of page hits for webcast posts is being handled by the Google Analytics Counter Module.
You can enable this module to work on webcast posts.
- First, disregard or skip the field and proceed to publish the post.
- We need to publish the post first so the system can assign the node ID to your webcast page - we will be needing this later on. Once published, go ahead and re-open the post for editing.
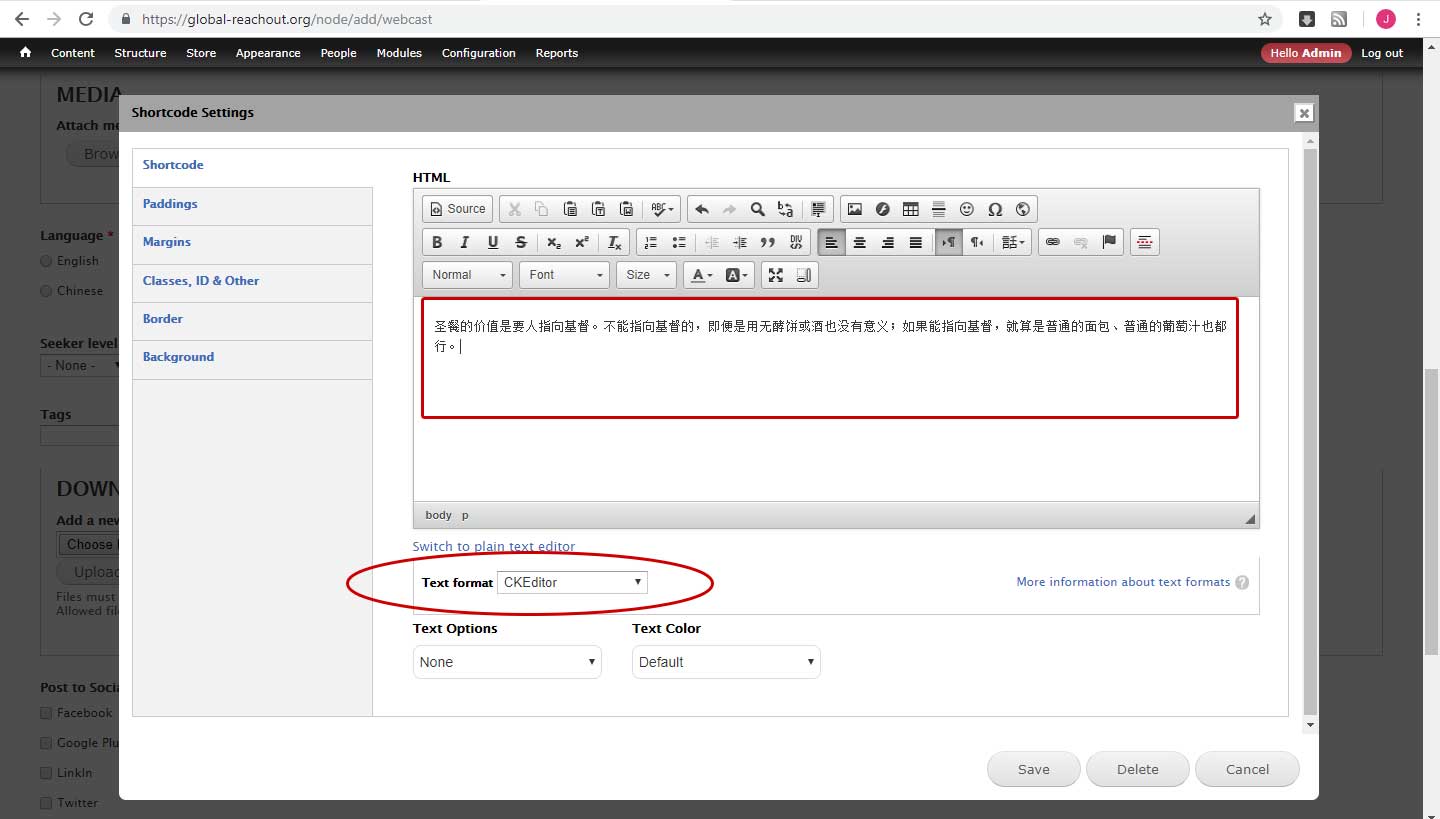
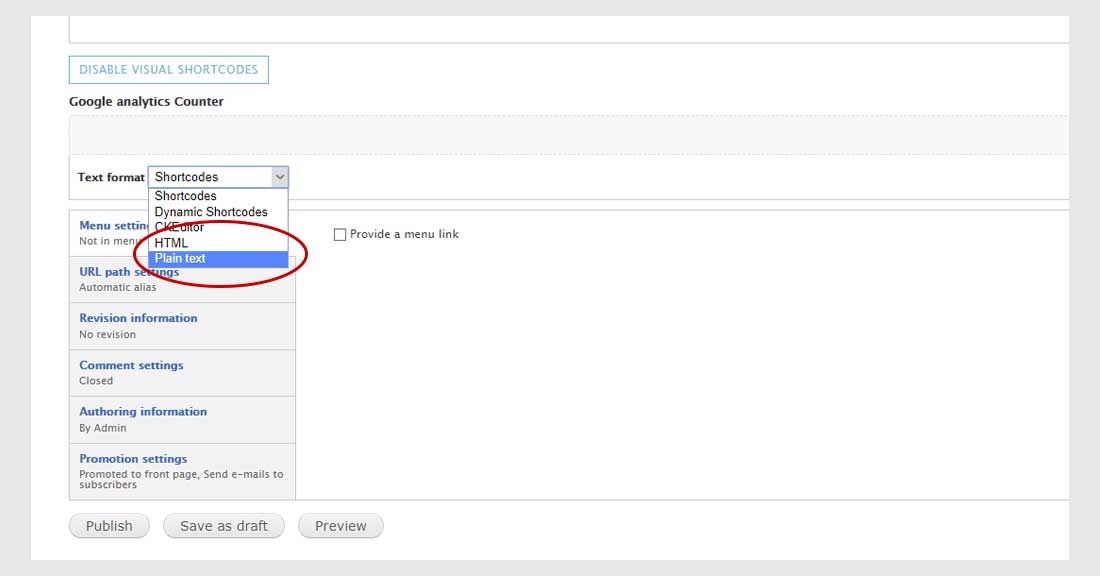
- Go back to the Google Analytics Counter field and select 'Plain text' as text format.
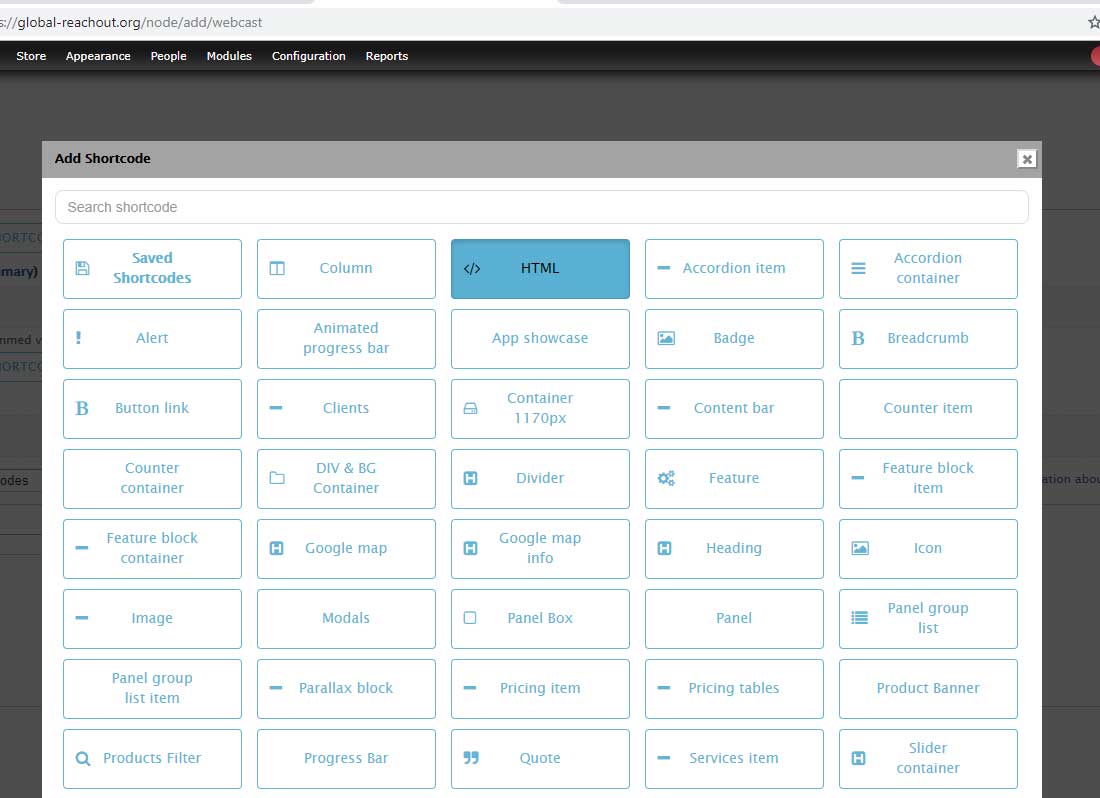
- Enter the special shortcode for Google Analytics Counter that looks something like this:
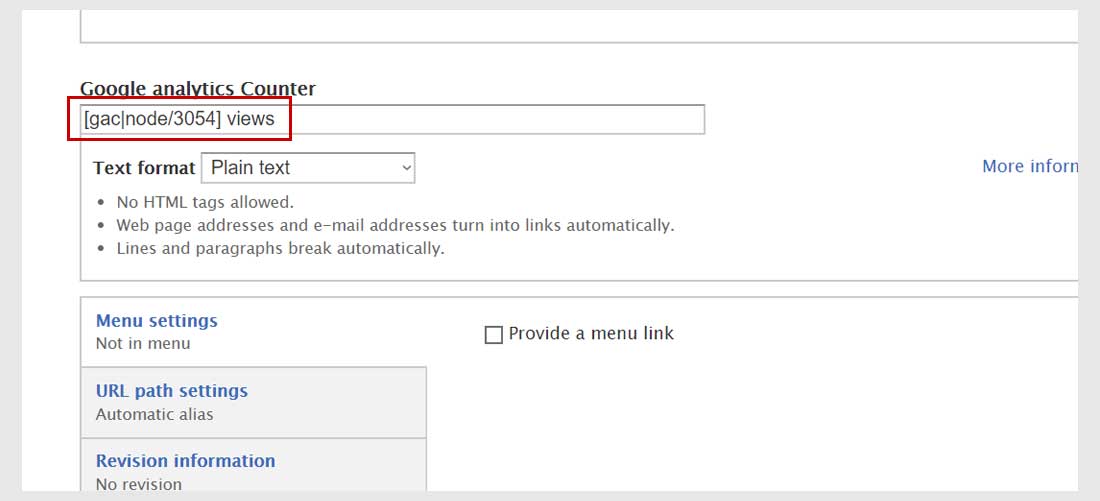
where 3054 (example only) is the node ID or unique ID of the webcast post. It is the variable or the number that will be different for each post.
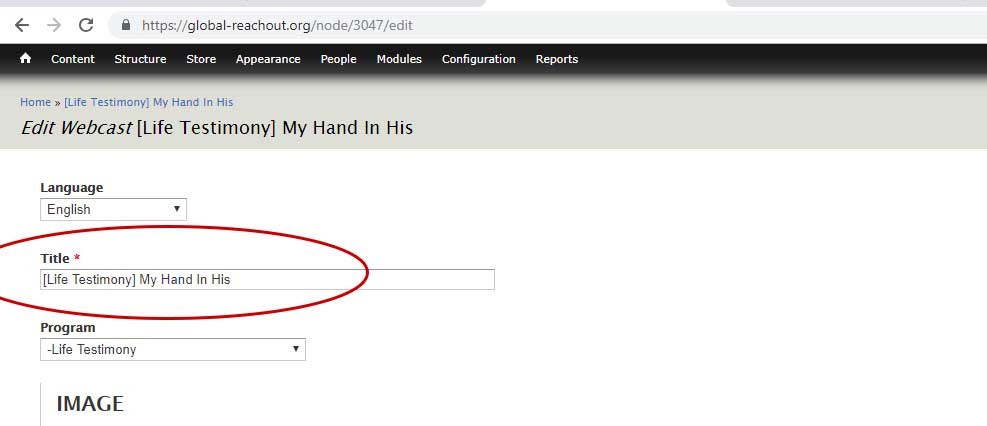
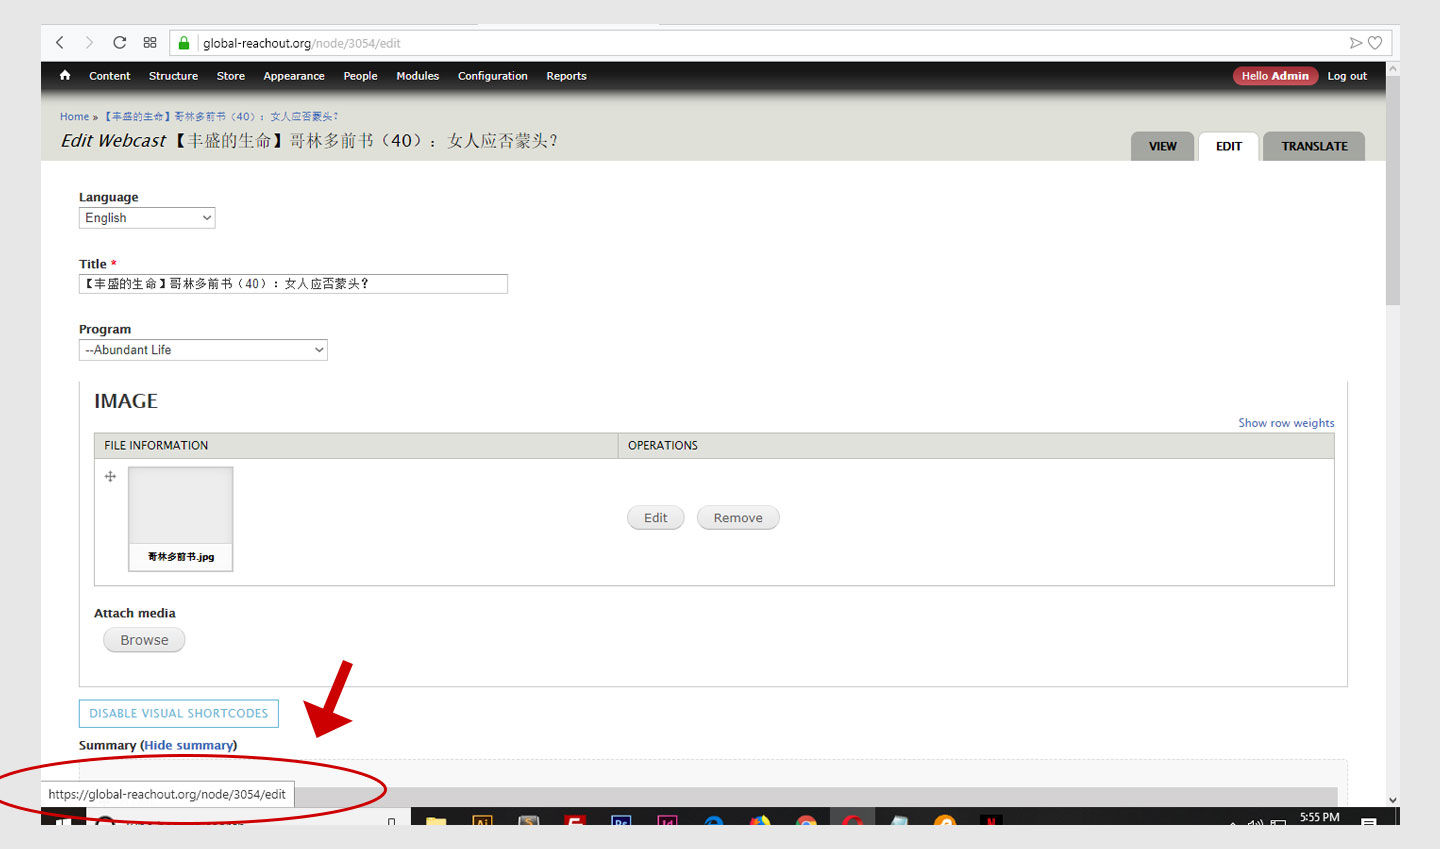
- To get the node ID, go back up and hover your mouse cursor on the 'edit' tab.
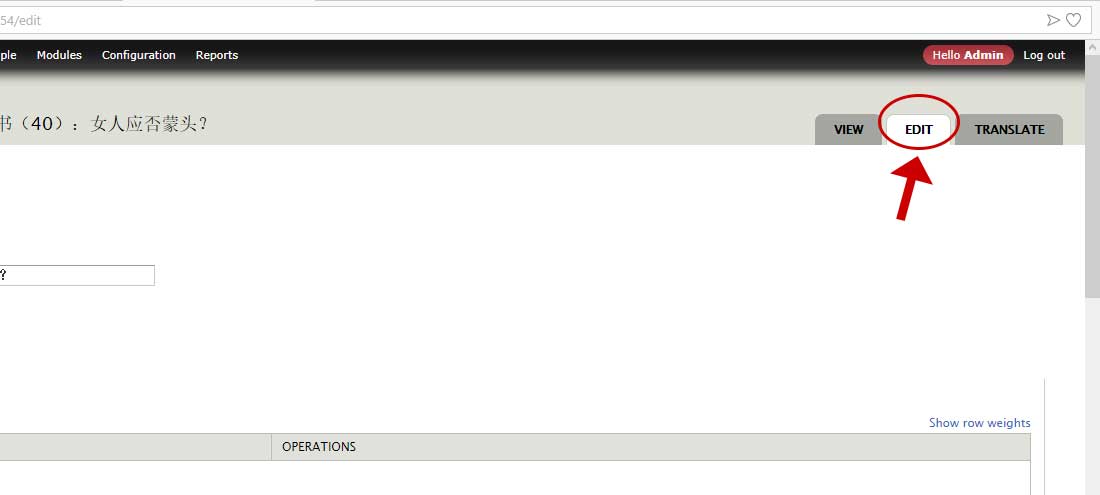
- On the lower left side of your browser window, you will see a link popup where you can find the page's node ID. Get the number to use with your Google Analytics shortcode.
- Click Save when done and check the post. You should see the no. of views now under the webcast title.
12. Miscellaneous Settings
For webcasts, just leave the following items at their default setting
- Menu Settings
- URL path settings
- Revison Information
- Authoring Information
- Promotion Settings
III. Click Publish (if you haven't done so yet) or Save.